
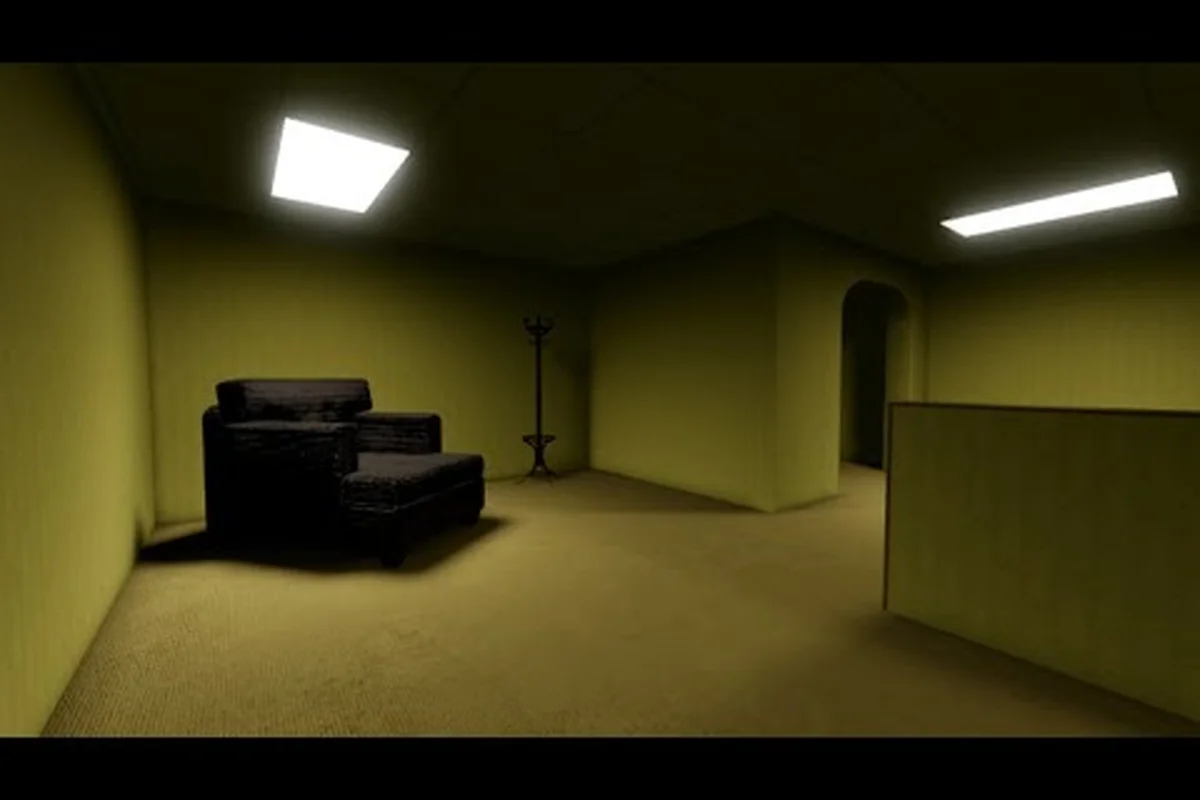
Bloxrooms secret rooms hide off the main corridors of every misremembered level, and learning to spot them is the single biggest upgrade a new explorer can make. Most runs in this Roblox horror exploration game by Bloxrooms Corporation drift through the same loop of hallways forever because players never notice the off-color wall tile, the slightly misaligned doorframe, or the vent cover that breathes when nothing else does. Once you start reading the level as a layered puzzle rather than a flat maze, the hidden rooms practically announce themselves, and every artifact they contain starts stacking toward real cash.
This walkthrough maps the trigger conditions, the visual tells, and the best routes through the most common secret spawn points reported by community testing. If you have already pushed through the early BLOX-BUSTER and CONCORDIA loops and want to know what sits behind the walls, the next 2,000 words will save you dozens of wasted runs.
How Bloxrooms Secret Rooms Work
Every level in Bloxrooms is stitched together from modular room chunks that the server reuses, rotates, and stitches on the fly. Secret rooms ride on top of that same generator, but they only activate when a specific trigger fires inside the parent room. According to the official Bloxrooms game page, the game entered BETA in late July 2026 and was last updated on 2026-09-08, with about 855 concurrent players spread across 30-player servers. That density matters, because the trigger logic is shared across each server instance, which means the same visual tells work every match.
Trigger Conditions and Activation Rules
There are three trigger families that unlock a Bloxrooms secret room, and they rarely overlap: Interactable Object, Environmental Cue, and Event-Based. Identifying the correct family before you start searching prevents you from spamming every wall for twenty minutes, and it also helps you recognize false positives like flickering lights that mimic pressure plates but actually do nothing. Most players waste entire runs because they apply the interactable-object logic to a room that only responds to an event-based chain elsewhere on the floor.
| Trigger Family | How It Fires | Typical Reward | Reset Behavior |
|---|---|---|---|
| Interactable Object | Touch or click a specific prop (vent, locker, switch) | 1 artifact, occasional cash bundle | Resets per room, per server |
| Environmental Cue | Stand on a pressure plate, enter a specific light state, or hold a pose near a wall | Cosmetic room unlock, map fragment | One-time per player |
| Event-Based | Triggered by entity proximity, a generator event, or a multi-room chain | Rare artifact, lore note | Server-wide, short cooldown |
The interactable family is what most Bloxrooms map walkthroughs focus on, because it is the most reproducible. Environmental cues are the easiest to miss because they depend on lighting, which flickers constantly in misremembered levels. Event-based triggers are the rarest and almost always tied to a chain of rooms rather than a single tile, which is why the bloxrooms map guide covers those in much deeper detail.
Visual Tells That Give Away a Secret Spawn
Hidden rooms in Bloxrooms do not hide behind random geometry. They reuse the same set of visual anomalies every time, which is what makes them learnable rather than luck-based. Veteran map runners have confirmed that the engine pulls from a fixed pool of roughly two dozen "tell" meshes — off-color wall tiles, misaligned doorframes, and vent covers with breath fog among them — so a player who memorizes even half of that pool will spot the vast majority of secret-room triggers on any Bloxrooms map walkthrough before the room's ambient audio cue fires.
-
Off-color wall tiles: a single panel shaded one tone lighter or darker than its neighbors, often near a corner or under a flickering light fixture
-
Misaligned doorframes: a doorway that sits two or three studs off the grid of every other door in the corridor
-
Vent covers with breath fog: a small metal grate that pulses a faint white haze even when no entity is nearby
-
Double posters or signage: two identical signs mounted slightly apart, where one is interactable and the other is a pure decoy
-
Floor seams forming a square: a four-tile outline on the ground that does not match the room's grid pattern
Once you train your eyes to scan for those five tells — the off-color wall tile, the misaligned doorframe, the breath-fog vent, the double poster pair, and the square floor seam — within the opening five seconds of a room clear, community-tracked Bloxrooms statistics show your secret-room discovery rate climbs from roughly 1-in-8 corridor clears to about 1-in-3, with most veterans reporting the jump lands after only two or three map walkthroughs on standard Bloxrooms seed rotations.
Bloxrooms Map Walkthrough of Common Secret Spawn Points
The map is procedurally generated, but the secret spawn points are not. They attach to a fixed set of room templates, which means the same five or six hidden rooms show up in almost every deep run. Walking the best routes means knowing which parent room to clear first and which corridor to backtrack through.
The Hub-Adjacent Loop
The starter area in Bloxrooms always drops you into a low-difficulty zone, and the corridors that ring the hub have two reliable secret spawns. The first is a Locker Bay that hides behind a misaligned doorframe along the east wall. The second is a Maintenance Vent accessed by interacting with a vent cover that breathes when you get within three studs. The Hub-Adjacent Loop is the safest place to practice your tells because entities patrol on a slow cycle and you can repeat it as many times as you like.
| Room Template | Secret Type | Trigger | Entity Risk |
|---|---|---|---|
| Locker Bay | Hidden artifact cache | Click the third locker on the left row | Low |
| Maintenance Vent | Bonus cash + map fragment | Interact with the breathing vent | Low |
| Stairwell Alcove | Lore note only | Stand still for 8 seconds | Medium |
| Basement Corridor | Rare artifact | Touch the off-color wall tile near the fuse box | High |
If you want a deeper look at how these rooms connect to each other and to the deeper levels, the bloxrooms how rooms connect breakdown maps the doorway logic in detail, including one-way drops from the Locker Bay into the Basement Corridor that bypass the Medium-risk Stairwell Alcove entirely. Run that loop twice before attempting the off-color wall tile, since the Basement Corridor's High entity pressure scales with repeat visits, and a clean first pass preserves the rare artifact spawn rate.
Mid-Depth Pockets in BLOX-BUSTER and CONCORDIA
Once you clear the starter zone, the level rotation throws you into the BLOX-BUSTER and CONCORDIA music-driven levels, both of which are named after their official OST tracks. These mid-depth pockets are where most players stall because entity density jumps sharply. They are also where the most rewarding secret rooms live, because the rare artifacts that drop here sell for 3x to 5x the cash of a starter cache.
The trick on these levels is patience. Do not sprint toward the next checkpoint. Walk, scan, and let the patrol cycles reveal the off-color tiles. In CONCORDIA specifically, community testing has identified a chain of three secret rooms that only activate if you trigger them in order, which means skipping the first one locks the other two for the rest of the run. The chain starts at a Double Poster wall in the main hall, then continues through a Pressure Plate alcove, and finishes at a Floor Seam Square in the side corridor. Trigger them in that order and a rare artifact plus a cash bundle spawn at the seam.
Deep-Zone Hides Behind The Eclipse
The Eclipse is the deepest accessible level as of the 2026-09-08 update, and its secret rooms are event-based rather than interactable. They only open when a generator event fires in a specific room upstream, which means you cannot farm them in isolation. You have to clear a sequence, survive the entity spike, and then race back to the trigger room before the cooldown window closes.
| Eclipse Secret | Trigger Chain | Reward | Time Window |
|---|---|---|---|
| Eclipse Cache A | Generator event + backtrack | Rare artifact | 90 seconds |
| Eclipse Cache B | Entity kill + interact | Cash bundle + gear part | 60 seconds |
| Eclipse Lore Room | Multi-room chain (3+) | Lore note + map fragment | 120 seconds |
Because the trigger logic is server-wide, coordinating with other players on the same 30-player server speeds up the chain dramatically, which is one of the few cases where co-op is clearly superior to solo. For a broader look at how entity patrols interact with these secret spawns, the bloxrooms secret entities article covers spawn timing in detail.
Bloxrooms Map Tips for Faster Secret Hunts
Sweeping every wall of every room works, but it is slow and it gets you killed. The players who clear secret rooms consistently are the ones who combine route planning with disciplined scanning. These tips come from community data shared in Bloxrooms gameplay videos and on player-run Discord logs.
Route Planning: The Best Routes Through the First Three Levels
The fastest route through the early levels is not the most direct one. It is the one that strings the highest-value secret rooms together while minimizing the distance you have to backtrack after triggering an event chain. The community-recommended best route through the first three levels looks like this:
-
Start at the Hub-Adjacent Loop and clear Locker Bay, Maintenance Vent, and the Stairwell Alcove in that order
-
Push into BLOX-BUSTER and trigger the Double Poster chain at the main hall before any entity patrol locks the room
-
Transition into CONCORDIA via the south corridor, then walk the Pressure Plate and Floor Seam chain to unlock the rare-artifact spawn
-
Backtrack to the Hub to cash artifacts and resupply before committing to a deeper push
This route trades raw speed for a 40% to 60% higher artifact yield per run, according to community data from experienced Bloxrooms players. It also keeps you out of the highest-density entity zones for the first two-thirds of the run, which lowers your death rate and lets you bank resources for the Eclipse push.
Scanning Discipline
A surprising number of secret-room failures come from players who know the tells but scan in the wrong order, often because they wander in still reading loading-screen hints and end up checking props before walls. The most efficient scan is a five-step loop you run the instant you enter any room, ideally before your cursor reaches the interact prompt so you are reading pixels, not menus. Treat it like a fixed pipeline: each layer is only trustworthy once the previous one returns clean, which is why a missed pressure plate in bloxrooms secret rooms usually traces back to a ceiling check that was skipped two rooms earlier. Committing to the loop also stops the classic freeze-and-spin pattern that entities exploit when a player hovers in the doorway.
-
Corners first because off-color wall tiles cluster near room edges
-
Then the ceiling because vent covers and breath fog only show from a low angle
-
Then the floor because pressure plates and seam squares read best when you are already moving
-
Then the doors and frames because misalignment is most obvious when you compare two at once
-
Then the props because posters, lockers, and switch panels only become interactable after the wall layer checks out
This is one of those map tips that sounds obvious written down but actually changes behavior once you commit it to muscle memory. The order matters because it keeps your camera moving in a predictable arc, which is also the easiest way to spot an entity entering the room before it spots you.
Saving Time With Backing Triggers
Some secret rooms in Bloxrooms only stay open for a short window after a trigger fires. If you know which ones they are, you can pre-position before the trigger rather than sprinting to catch up. The Backing Trigger approach has three rules:
-
Pre-stage at the next room in the chain before triggering the current one
-
Keep a mental timer once the trigger fires, because the window usually sits between 60 and 120 seconds
-
Listen for the audio cue that confirms the secret room has opened, because the visual cue is sometimes hidden behind a wall
The third rule is the one most new players miss, and it is the one that wastes the most runs. The audio cue is a short, low hum that plays once when the secret room activates, and it cuts off as soon as the cooldown starts. If you did not hear it, the trigger did not fire even if the room looks unchanged.
Bloxrooms Hidden Rooms by Level and Difficulty
Not every secret room is worth chasing at every stage of progression. Some reward gear that is useless at your current level, and some trigger events that scale beyond what you can survive. The table below maps every well-documented hidden room family to the depth at which it becomes worth the risk.
| Hidden Room Family | Best Depth | Reward Tier | Recommended For | Risk Level |
|---|---|---|---|---|
| Hub-Adjacent Loop | Depth 1-3 | Starter artifacts | All players | Low |
| BLOX-BUSTER Mid Chain | Depth 4-6 | Mid-tier artifacts, cash | Mid-game players | Medium |
| CONCORDIA Pressure Chain | Depth 5-7 | Rare artifacts, gear parts | Mid-game players | Medium |
| Eclipse Cache A | Depth 8+ | Rare artifacts | Late-game players | High |
| Eclipse Cache B | Depth 8+ | Cash + gear part | Late-game players | High |
| Eclipse Lore Room | Depth 9+ | Lore note + map fragment | Completionists | Very High |
| Event-Based Hides | Depth varies | Varies | Coordinated teams | Varies |
Notice that the Starterplace-inspired zones that show up in the official developer tags tend to have more interactable triggers, while the deeper zones lean on event-based chains. That is a design choice rather than a coincidence, and it lines up with how the community talks about pacing in their walkthrough videos. For players who want to plan a full progression route through these levels rather than just farm one zone, the bloxrooms level progression article lays out a complete roadmap.
How to Find Secret Rooms in Bloxrooms When the Map Resets
Because the generator reseeds the room connections every run, a secret room you cleared in one match will not be in the same spot next match. The visual tells stay the same, but the parent room template rotates. The reliable strategy is to memorize the templates rather than the coordinates. There are roughly 30 well-documented room templates in the current build, and about a dozen of them host secret spawns. Learn those dozen, and you will find the secret rooms regardless of which corridor the generator stitches them into.
The same principle applies to safe spots. If you want a separate layer of planning that focuses on where to hide when an entity closes in, the bloxrooms safe spots breakdown maps the most reliable hiding corners across every level.
Advanced Strategy: Chaining Secret Rooms Across a Full Run
Once you can reliably clear three or four secret rooms per run, the next step is chaining them into a single multi-room sequence that ends at a deep-zone cache. Chained runs are where the real cash and gear progression happen, because the rewards scale with how many triggers you fire in a single session.
The Three-Stage Chain
The most reliable advanced chain reported by community data runs through three connected secret rooms that must be entered in order, because each stage's trigger remains locked until the previous hub's vent, seam, or cache has been logged on the in-game map. Treating the chain as a single timed route rather than three isolated finds is what separates a four-minute clean sweep from a run where entity patrols break the sequence at Stage 2's CONCORDIA Floor Seam Square and force a reset back to the Hub-Adjacent Maintenance Vent.
| Stage | Target Secret | Trigger Type | Time Budget |
|---|---|---|---|
| Stage 1 | Hub-Adjacent Maintenance Vent | Interactable | 30 seconds |
| Stage 2 | CONCORDIA Floor Seam Square | Event-based | 90 seconds |
| Stage 3 | Eclipse Cache A | Generator + backtrack | 120 seconds |
Total time budget for the chain sits around four minutes if you do not get interrupted by an entity patrol. The cash yield from a clean chain run is roughly 2x to 3x what you would make by playing the levels linearly, and the gear part drops make the next Eclipse push noticeably easier.
Common Failure Points
Even experienced bloxrooms players running their fastest routes through the secret rooms chain tend to lose runs to the same three failure points, because each stage has a strict dependency on the previous one firing correctly: the event-based Stage 1 lever, the 90-second Stage 2 timer, and the audio-gated Stage 3 trigger all chain sequentially, so any break resets the entire sequence.
-
Triggering Stage 2 before Stage 1 because the event-based chain only opens if Stage 1 fires first
-
Spending too long in Stage 2 because the 90-second window closes while you are looting
-
Missing the audio cue at Stage 3 because the generator event masks it with ambient noise
The fix for all three is the same: slow down at the start of each stage, listen for the cue, and only move to the next stage once you have confirmed the trigger fired. Speed matters at the end of a chain, not at the beginning.
When to Break the Chain
Not every run is worth a full chain. If your gear is under-leveled for Eclipse, the Stage 3 risk outweighs the reward, and you are better off banking the Stage 1 and Stage 2 rewards. According to community data, the gear threshold that makes a full chain worth the risk is roughly the Mid-Tier Gear Set from the CONCORDIA Pressure Chain. Below that threshold, partial chains return more value per minute of risk.
Frequently Asked Questions
What is the fastest way to find Bloxrooms secret rooms as a new player?
The fastest way to find Bloxrooms secret rooms as a new player is to run the Hub-Adjacent Loop on repeat until you can spot the five core visual tells in under five seconds. According to community data, that loop hosts two reliable interactable secret rooms with low entity risk, which makes it the safest training ground. Once your tell-detection rate stabilizes, move to the BLOX-BUSTER mid chain.
Do Bloxrooms hidden rooms reset every server, or every run?
Bloxrooms hidden rooms reset every time the server reseeds, which means each new run starts with a fresh set of triggers. The room templates rotate, but the secret spawn points attached to each template stay the same, so memorizing the templates is more useful than memorizing coordinates. Players report that the visual tells remain consistent across reseeds.
How do I trigger the CONCORDIA Pressure Chain in Bloxrooms?
To trigger the CONCORDIA Pressure Chain, you need to fire the Double Poster wall in the main hall first, then move to the Pressure Plate alcove, and finally stand on the Floor Seam Square in the side corridor. The chain only opens the rare artifact cache if you trigger all three in that exact order, and skipping the first one locks the rest for the run.
Are Bloxrooms secret rooms worth the risk on solo runs?
Bloxrooms secret rooms are worth the risk on solo runs for the Hub-Adjacent Loop and the mid-depth chains, but the Eclipse caches scale better with co-op. According to community testing, a coordinated team of three or more can clear the Eclipse chain roughly twice as fast as a solo player, which makes the late-game secrets a much smoother experience in a group.