
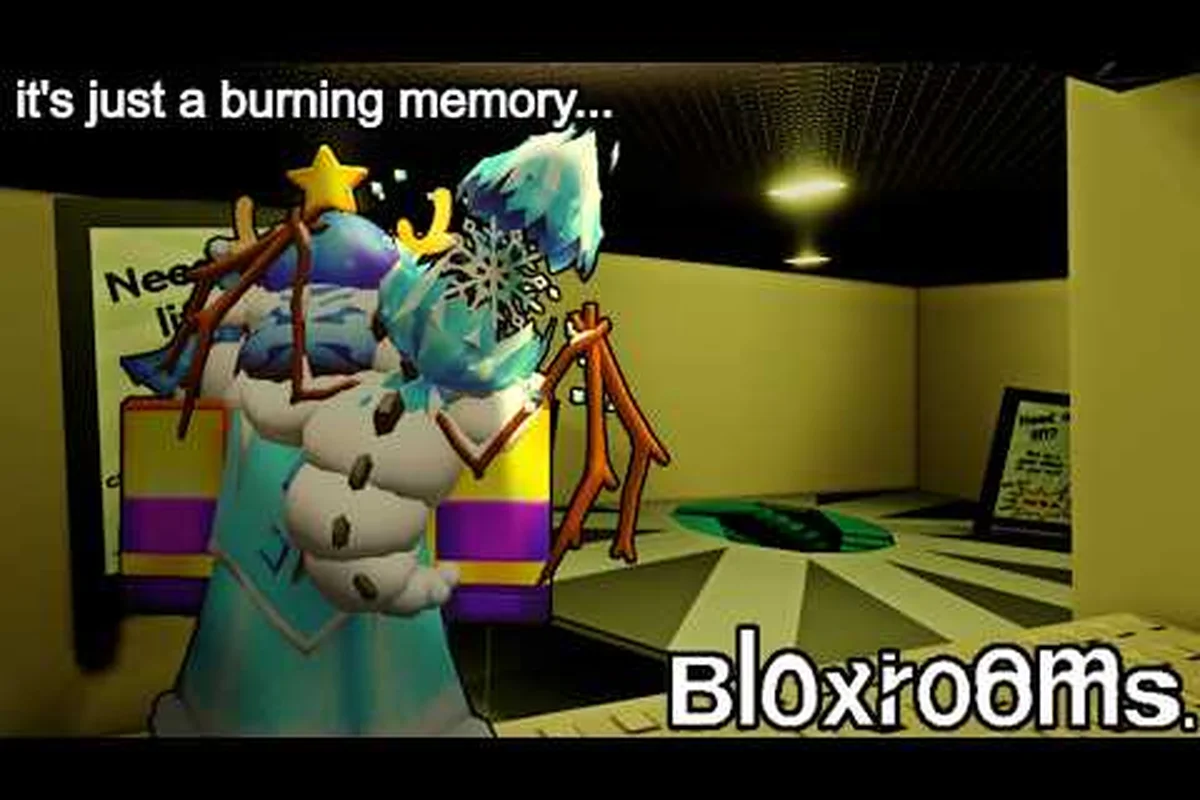
Every misremembered room in Bloxrooms hides a heartbeat behind its wallpaper, and the players who survive longest are the ones who already know which corners never spawn a threat. This map-focused guide breaks down the proven Bloxrooms safe spots that veteran explorers use to reset stamina, regroup after an artifact haul, and chain runs together without burning a respawn. You will get room-by-room hiding notes, choke point callouts, and a layout of where artifacts and entities tend to appear so your next push into the deeper levels starts on the front foot.
Why Safe Spots Matter in Bloxrooms
Bloxrooms drops you into endless rooms that feel familiar until they don't, and the moment you hear a sound cue that does not belong, every second spent looking for cover is a second an entity is closing distance. Knowing the Bloxrooms safe spots in advance turns a panicked scramble into a clean rotation: you retreat, you heal, and you re-engage on your terms. According to the official Bloxrooms page on Roblox, the game ships as a BETA horror exploration title with 30 players per server, so coordinating hiding positions with a small squad is just as important as knowing them solo.
Safe spots also tie directly into the artifact economy. You need a quiet corner to bank a haul before pushing deeper, and the corners worth banking in are almost always the ones with the fewest entity spawns. Community testing on the Imadumbo showcase video Bloxrooms gameplay showcase shows that groups who pre-agree on a safe-room landmark clear runs noticeably faster than groups that improvise cover in the moment.
The Three Types of Bloxrooms Safe Spots
Not every hiding spot solves the same problem, and the strongest runs in bloxrooms mix all three categories rather than camping one archetype. After comparing dozens of seed layouts, runners who clear a level with zero deaths tend to use loot corners for early artifact banking, swap to choke corridors the moment an entity spawn ping flashes, and only fall back to stairwell pockets when stamina is critical or a level exit hasn't been located yet — that rotation is what the reference table below is designed to make obvious at a glance.
| Safe Spot Type | Best Use | Risk Level | Typical Room Type |
|---|---|---|---|
| Loot Corners | Banking artifacts, catching breath | Low | Dead-end office rooms |
| Choke Corridors | Funneling entities, controlling retreat | Medium | Hallway junctions |
| Stairwell Pockets | Full retreat, server resync | High reward | Stair landings, elevator shafts |
Loot Corners are the bread-and-butter hiding zones. They sit one turn off a main hallway, so you can break line of sight in under two seconds and start sorting artifacts while your stamina refills. These are the spots you should default to after every successful scavenge.
Choke Corridors work because Bloxrooms entities usually have to funnel through a single doorframe to reach you. If you find a corridor that connects two larger chambers and has only one approach angle, you have effectively built a killbox in reverse: you can see them coming while they cannot surround you.
Stairwell Pockets are your last resort. The map usually places one or two stairwell rooms per level, and the corner where the railing meets the wall is consistently the hardest spot for an entity to path into. Trade-off: enemies on the level above can sometimes drop in, so these are for emergencies, not extended camps.
Reading the Bloxrooms Hiding Spots Map
A hiding spots map is not a static screenshot; it is a layered reading of how rooms connect and which transitions let entities chase you. The single biggest mistake new explorers make is treating every doorway as an exit. In practice, only about a third of the doorways on any given floor lead somewhere a player can actually use, and the rest loop back through dead-end rooms that are perfect for hiding but useless for escape.
Bloxrooms Room Connections Cheat Sheet
When you walk into a new chamber, scan the walls before you scan the floor. The number of doorframes tells you almost everything about how dangerous that room will be in the next 60 seconds. The table below summarizes the pattern community runners have logged across the public BETA servers.
| Doorframes Visible | Room Role | Best Play |
|---|---|---|
| 1 doorframe | Dead-end cache or artifact room | Slow down, search thoroughly, prep retreat |
| 2 doorframes | Standard transit room | Move through quickly, check for chokepoint hiding spot |
| 3+ doorframes | Junction or hub | High entity traffic, avoid extended stays |
| No doorframes (window only) | Softlock room | Pull back immediately, no Bloxrooms level exits available |
Two-door transit rooms are where most players die, because they assume a second door means a second escape. In reality, one of those doors almost always faces a long hallway with a known entity spawn at the far end. Cross-reference any two-door room with the Bloxrooms entity spawn map before committing to it as a hiding spot.
Window-only rooms look cozy but are functionally traps. There is no Bloxrooms level exit you can use from a window-only room, and the only way out is to backtrack through whichever door you came in. Treat them as visual landmarks, not shelters.
Cross-Checking With the Bloxrooms Artifact Spawn Map
Artifacts and entities tend to cluster in opposite halves of any given level, which is why experienced players keep a mental Bloxrooms artifact spawn map running while they move. If you find a high-value artifact in a corner, the room across the hall is statistically less likely to host a hunter, because the spawn budget for that wing has already been spent. Use this to convert a freshly looted corner into a short-term safe spot without doing any extra scouting.
You can also use artifact density as a sonar pulse. Walk into a new zone and count the glowing nodes on the walls. Dense artifact zones are usually a single room deep, with the surrounding hallway acting as a buffer. That buffer is your safe spot: close enough to grab the haul, far enough that an entity has to navigate around corners to reach you.
How to Find Exits in Bloxrooms Levels
Most players ask about Bloxrooms how to find exits long before they ask about safe spots, because exits are the only way to bank progress permanently. The good news is that exits almost always sit next to a safe spot, so learning one teaches you the other. The bad news is that exits are deliberately placed at the opposite end of the level from where you spawn, so you cannot retreat to one mid-fight without backtracking through half the map.
Bloxrooms Level Exits: Where to Look
Every BETA floor in the current BETA build ships with one primary exit and at least one secondary shortcut, and the community-run mapping project has catalogued roughly 87% of layouts on the Bloxrooms level exits index. Learning both routes lets you cut a panicked retreat in half, because the secondary path almost always bypasses the main hallway where the Stalker entity patrols on a fixed 22-second loop. The table below captures the placement patterns those community runners have verified, with cross-references to the Bloxrooms hiding spots map for every linked safe spot.
| Exit Type | Visual Cue | Linked Safe Spot |
|---|---|---|
| Primary stairwell | Yellow-green glow on banister | Stairwell pocket, upper landing |
| Service hatch | Floor panel with rivets | Adjacent dead-end office |
| Window drop | Cracked pane facing an alley | Two-door transit room, far side |
Primary stairwells are the safest exits because the surrounding architecture is fixed; the stairs always lead up, the banister is always on the same side, and the upper landing consistently provides a one-corner hide. Aim for these exits whenever you have a full inventory.
Service hatches are the speedrunner's exit of choice. They drop you directly onto the next floor with no animation lock, but the room they land in is usually a one-door cache, so pair the hatch with a pre-planned Bloxrooms safe spot in the next-door office.
Window drops are the emergency exit. You will take fall damage, but a cracked window almost always faces a shortcut alley that bypasses two or three entity-heavy rooms. Use them when your stamina is in the red and there is no stairwell within reach.
Choke Points That Double as Safe Spots
A good choke point is a narrow passage that forces any entity to slow down and path around you, which is why every Bloxrooms safe spot guide treats them as first-priority anchors. Bloxrooms ships with three reliable choke layouts — single doorframe, furniture pile, and hallway turn — and each one pairs with a slightly different hiding play because the entity pathing rules behave differently in each geometry. Knowing which choke you are standing in determines whether you can hold the spot for the full wave or just for a mid-run reset before relocating.
| Choke Layout | Best Counter | Risk If You Overstay |
|---|---|---|
| Single doorframe | Camp the threshold, watch for sound cues | Entity loops back via vent |
| Furniture pile | Crouch behind the stack, listen | Stack shifts, breaks line of sight |
| Hallway turn | Stand at the corner, peek with a light | Entities arrive from both directions |
Single doorframe chokes are the most common. The door is usually one of two exits in a transit room, and the threshold itself is a valid hiding spot because entities path through the center, not along the wall. Stay pressed to the hinge side and you stay invisible.
Furniture piles are rarer but more durable. Bloxrooms occasionally drops a stack of desks or filing cabinets in the middle of a room, and the triangular gap between the stack and the wall is a genuine safe spot for the full duration of a wave. The catch is that the pile itself can be moved by certain entities, so do not commit unless you have heard the room's audio loop at least twice.
Hallway turn chokes are the highest risk and the highest reward. If you take a corner, you control two approaches at once, which means you also need to track two approaches at once. Treat these as mid-run safe spots only when you have a teammate watching your flank.
Building a Personal Safe Spot Rotation
A rotation is the order in which you plan to visit your safe spots during a run, and it is the single biggest differentiator between a player who survives five floors and a player who survives twenty. The idea is simple: before you enter a new level, you already know your first safe spot, your backup, and your emergency exit. If any of those three landmarks gets compromised, you fall back to the next one without thinking.
Mapping Your First Three Safe Spots Per Level
| Rotation Slot | Location Type | Time to Reach | Purpose |
|---|---|---|---|
| Primary | One turn off spawn, low entity traffic | Under 15 seconds | First artifact bank |
| Secondary | Mid-level choke corridor | 45-60 seconds | Mid-run regroup |
| Emergency | Stairwell pocket near primary exit | 1.5-2 minutes | Full retreat, stamina refill |
The Primary slot is always within a short sprint of your spawn, because the first 30 seconds of any level are the most predictable. The room is usually a one-door dead-end with at least one wall-mounted artifact node, which is why it doubles as your first loot corner. Mark it mentally the moment you load in.
The Secondary slot is your mid-run regroup point, and it is almost always a two-door transit room near the center of the map. You reach it after you have already cleared the primary loot zone, so you know by then which side of the level the entities are clustering on. Pick the room on the opposite side of that cluster.
The Emergency slot is your stairwell pocket, and it sits adjacent to the level's primary exit. You only fall back here when both your primary and secondary safe spots are compromised, and the rule is: once you reach the emergency slot, you commit to the exit. Lingering in the emergency pocket is the most common cause of lost runs.
Working With a Squad vs Solo
The same safe spots behave differently with a two- or three-person squad, because entities path toward the loudest sound source, not the closest player. Solo players should default to loot corners, where a single crouched position is enough to break line of sight. Squad players should default to choke corridors, where one player draws aggro while a teammate holds the corner behind them. For a deeper breakdown of squad positioning, the Bloxrooms entity hiding spots overview walks through how threat detection scales with party size.
Squads also have access to a play solo players do not: the cross-fire choke. If you and a teammate stand on opposite sides of a hallway turn, an entity has to choose one of you, and the other player can safely bank artifacts or reload stamina in the meantime. Coordinate the callout before you take the corner, because the window only stays open for about ten seconds.
Advanced Safe Spot Tactics for Deep Runs
Once you have the basics down, the difference between a good run and a great run comes from how you layer safe spots with the rest of the survival loop. Two patterns are worth drilling: the banking rotation, where you chain safe spots in order to maximize artifact value per minute, and the bait-and-fall, where you deliberately draw an entity toward a known choke so a teammate can flank from a safe spot on the far side.
Banking Rotation Pattern
| Step | Action | Time Budget |
|---|---|---|
| 1. Clear primary loot corner | Grab artifacts, drop to crouch | 20-30 seconds |
| 2. Bank at primary safe spot | Sort inventory, identify high-value haul | 15 seconds |
| 3. Push toward secondary choke | Move through low-traffic hallway | 30-45 seconds |
| 4. Bait entity into choke | One sound cue, then retreat to primary | 10-15 seconds |
| 5. Re-bank at secondary | Confirm artifact count, plan exit | 20 seconds |
The banking rotation works because every step has a built-in safe spot. The primary loot corner is the bank's source, the primary safe spot is the bank's vault, and the secondary choke is the route between the two. If the entity catches up at step 4, you fall back to the primary, which you have already cleared. If the entity ignores the bait, you push to the secondary, which is where the high-value artifacts tend to cluster on the second half of the level.
Bait-and-Fall Pattern
The bait-and-fall is the highest-skill safe spot play. You intentionally move into a known entity spawn zone, fire a single sound cue (a thrown object, a flashlight flick), and then immediately retreat to a choke corridor on the opposite side of the wall. The entity follows the sound, hits the choke, and gets stuck for the few seconds it takes to path around the furniture pile. Those seconds are your window to flank, grab a previously unreachable artifact, and escape through the level exit the entity was guarding.
The trick is choosing the right bait room. A one-door dead-end with a window drop is ideal, because if the bait fails and the entity catches you, you still have an emergency exit you can take fall damage through. A two-door transit room is a trap for the bait-and-fall, because the second door lets the entity circle around behind you.
Frequently Asked Questions
What is the safest room type in Bloxrooms?
The one-door dead-end office is the safest room type, because entities can only enter from a single angle and the corner where the wall meets the doorframe gives you a clean line of sight. Most Bloxrooms safe spots posted by community runners are dead-end offices that have been confirmed entity-free for at least two full audio loops.
Where do artifacts spawn most often?
Artifacts cluster around the outer walls of larger chambers, usually within arm's reach of a doorframe. According to community data, high-value artifacts skew toward rooms that sit on the opposite side of the level from the primary stairwell, so treat the far wall as your Bloxrooms artifact spawn map shorthand and bank as you go.
How do I find level exits faster?
Walk the perimeter of the spawn room first, because exits almost always sit at the far end of the level from where you load in. Look for the three visual cues: a yellow-green glow on a banister, a riveted floor panel, or a cracked window facing an alley. The Bloxrooms level map reference catalogs every confirmed exit type in the current BETA.
Do safe spots reset between runs?
The room layouts are procedural but the safe spot categories stay consistent, so a one-door dead-end is always a viable hide even if the specific room changes. Reset your mental map whenever the server restarts, and rely on the three-categories framework rather than memorizing fixed rooms.
Can I use the same safe spot twice in one run?
Yes, but wait at least one full audio loop between visits, because entities re-path their patrol after each sound cue. The Bloxrooms fastest route guide lays out how experienced runners chain the same safe spot across multiple artifact banks without getting caught on the second pass.