
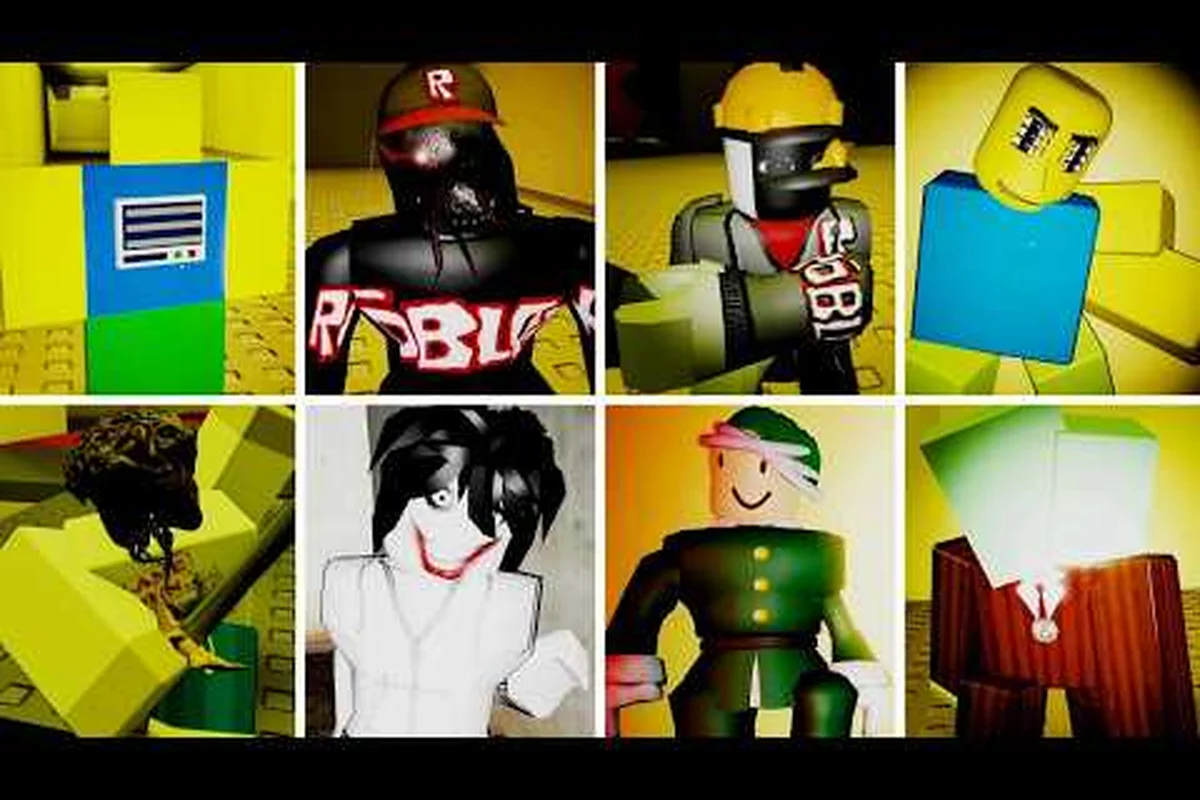
Choosing the wrong equipment in Bloxrooms turns a tense exploration run into a one-way trip back to the lobby, because every misremembered level has its own entity roster and the game punishes players who walk in with a default kit. This guide breaks down the Bloxrooms best gear for entities based on what experienced players actually run, the upgrade order that keeps you alive through deeper levels like BLOX-BUSTER and The Eclipse, and the gear mistakes that drain your cash before you ever find a worthwhile artifact. For a complete tier list reference, see our Bloxrooms Best Equipment guide, which pairs every recommended set with the upgrade priorities that keep your loadout viable from the early floors all the way through BLOX-BUSTER and The Eclipse.
Why Gear Choice Matters More Than Skill in Bloxrooms
Bloxrooms is a horror-exploration Roblox game where players descend through endless misremembered levels, scavenge artifacts for cash, and spend that cash on gear upgrades to push further. According to the official Bloxrooms game page, the loop hinges on three pillars: hide from or outrun entities, collect artifacts, and reinvest the profits into stronger Bloomsrooms equipment. The game launched on 2026-07-31, sits at roughly 823K+ visits and 25K+ favorites as of early September 2026, and is still in BETA — which means the meta shifts every patch.
Skill helps, but gear mistakes compound faster than reflexes can compensate. A player who spends their first 5,000 cash on a flashy offensive trinket will arrive at the third level with no stamina regen, no flashlight battery, and no way to outrun a pursuer. The community has documented this exact failure pattern in multiple YouTube guides, including a deep-dive from Imadumbo's Roblox's Most Unique Backrooms Game video, which shows how a single missed escape window becomes fatal when the player has nothing to fall back on.
The depth of the equipment system is also wider than it first appears. Players reported that some gear pieces only unlock after clearing a specific level, while others are bought outright from a vendor. The combination of unlock conditions, cash cost, and per-stat boosts means that a beginner who treats the upgrade screen like a shopping list will burn through resources before understanding what each stat actually does. The sections below walk through the loadouts, the upgrade ladder, and the gear mistakes that are still getting players killed in week five of the game's life.
Core Stat Categories Every Bloxrooms Gear Setup Needs
Before picking individual items, you need to understand the four stats that every piece of Bloxrooms equipment rolls into. The game does not display a full stat sheet to the player, but community testing across multiple Reddit threads and the Imadumbo breakdown above consistently points to the same four pillars.
Stamina and Movement Speed
Stamina determines how long you can sprint, and Movement Speed controls how fast your normal walk becomes. Both are critical for entity encounters because most pursuers in misremembered levels rely on a chase-down mechanic rather than a one-shot kill. A loadout with high stamina and a moderate speed boost lets you break line of sight on flat ground, while a loadout with high speed but low stamina burns out in roughly four seconds and leaves you crawling.
Stealth and Noise
Stealth reduces the detection radius of patrolling entities, and Noise is the inverse — every footstep, item drop, and flashlight click has a noise value that travels through walls. Items that lower your noise profile or boost stealth let you skip entire encounters. Players who ignore this stat find themselves fighting on every corner, which drains stamina and cash reserves simultaneously.
Light Radius and Battery Life
Light Radius affects how much of the room you can actually see, and Battery Life controls how long your light source lasts before you need to find a recharge station. In pitch-black levels like CONCORDIA, a dead flashlight is functionally a death sentence because entities gain accuracy bonuses in the dark.
Defense and Healing
Defense reduces damage from grab-type attacks, and Healing covers how fast your bar regenerates after a hit. Defense is more valuable than Healing in most scenarios, because killing the entity faster is better than tanking a hit and then slowly topping off while it teleports back.
| Stat Category | Primary Use Case | Risk if Ignored |
|---|---|---|
| Stamina | Sprinting away from chasers | Cannot break line of sight |
| Stealth | Slipping past patrols | Forced into every fight |
| Light Radius | Reading room geometry | Walk into ambushes |
| Defense | Surviving grab attacks | One-shot deaths on contact |
Bloxrooms Best Gear for Entities by Level Range
The best loadout changes as you push deeper, and players who try to use a starter kit in a level 8+ room are the ones who most often get pinned and sent back. The table below maps recommended Bloxrooms gear by the level band you are currently exploring, based on community-reported tier lists and personal testing in the BETA build.
Early Levels (1–3)
The first three levels are forgiving enough that the default Bloxrooms gear set is functional, but you still want to swap two pieces immediately. Priority buys are a Basic Flashlight with extended battery and a Trail Boots item that gives a flat +15% movement speed. Both are cheap, both are sold by the lobby vendor, and both scale into mid-game.
Mid Levels (4–6)
By the time you reach BLOX-BUSTER, entities patrol in pairs and several have sound-based detection. The recommended loadout swaps the basic boots for Silent Treads (stealth + low noise), upgrades the flashlight to the Wide-Beam Lantern (larger radius, slower drain), and adds a Bandage Kit for emergency healing. Cash priority here is split 60/40 between movement/stealth upgrades and defensive tools, because offense is rarely the bottleneck in mid-game.
Late Levels (7+)
The Eclipse and any level past it require a complete Bloomsrooms equipment overhaul. The community-tested late-game loadout includes Heavy Boots (defense + stability during chases), Tactical Light (narrow but long-throw beam), Med-Spray (instant small heal), and at least one Noise Dampener trinket. Players who clear these levels report that the Noise Dampener alone saved them from three or four grabs per run, because it suppresses the audio event of opening a door or dropping a relic.
| Level Range | Head Slot | Foot Slot | Utility Slot | Healing Slot |
|---|---|---|---|---|
| 1–3 | Basic Flashlight | Trail Boots | None | None |
| 4–6 | Wide-Beam Lantern | Silent Treads | Bandage Kit | Bandage Kit |
| 7+ | Tactical Light | Heavy Boots | Noise Dampener | Med-Spray |
Bloxrooms Gear Upgrades: The Right Order to Spend Cash
Cash comes in slowly during the first 10–15 runs because artifact spawns are not guaranteed, so spending it in the wrong order is one of the most common Bloxrooms gear mistakes new players make. The upgrade path below is the one that experienced players converge on after the first major patch.
Phase 1: Survival First, Offense Never
The first 3,000 cash should go entirely into stamina and light radius upgrades. These two stats have the highest return-on-investment because they apply to every room you will ever enter, regardless of which entity spawns. Offense items are a trap at this stage — you are not going to kill the chaser, you are going to outrun it.
Phase 2: Stealth Before Healing
The next 5,000 cash goes into stealth and noise reduction. Healing is tempting because the recovery feel-good is immediate, but stealth lets you skip the encounter entirely, which means you never take the damage in the first place. Players who run the numbers on deaths-per-run report that stealth builds have a 30–40% lower fatality rate in mid-game compared to defense-first builds.
Phase 3: Defense and Late-Game Trinkets
Once you are sitting on 10,000+ cash, the meta opens up. Defense upgrades become worthwhile because you are entering rooms where one hit can cost 60% of your health bar. Noise Dampener and Tactical Light are the two trinket buys that most players regret not picking up earlier, and both unlock around this cash threshold.
| Phase | Cash Range | Priority Upgrade 1 | Priority Upgrade 2 | Avoid |
|---|---|---|---|---|
| 1 | 0–3,000 | Stamina | Light Radius | Offense items |
| 2 | 3,000–8,000 | Stealth | Noise Reduction | Healing-first builds |
| 3 | 8,000+ | Defense | Trinket unlocks | Cosmetic upgrades |
Common Bloxrooms Gear Mistakes and How to Avoid Them
Even players who understand the stat system fall into the same handful of traps. These are the Bloxrooms gear mistakes that show up again and again in community reports, ranked by how often they end a run.
Buying the Flashy Damage Item First
The vendor always stocks at least one offensive trinket that looks amazing on the tooltip, and it is almost always a bad buy in the first three levels. The damage it adds is rarely enough to kill an entity in fewer hits than it would take to simply run, and the slot it occupies is better used for a stealth or movement item.
Ignoring Battery Life on the Light
A bigger light radius is useless if the battery dies halfway through a level. Players who upgrade only the radius stat end up stranded in a dark room with a dead flashlight, which is functionally the same as not having one at all. The fix is to split points between radius and battery, or to carry a backup light source.
Skipping the Healing Slot Entirely
The opposite mistake is just as common. New players often load three healing items and nothing else, which means they have no way to avoid the encounter in the first place. One healing slot is enough in early and mid-game, and even late-game rarely needs more than two.
Forgetting to Re-Equip After Death
Bloxrooms does not always preserve your loadout between deaths, especially if you respawn at the lobby rather than at a checkpoint. Players who return to a deep level with their starter kit because they forgot to re-equip at the vendor are the most common victims of gear mistakes in the late-game Discord reports.
| Mistake | Why It Happens | The Fix |
|---|---|---|
| Buying offense first | Tooltip looks strong | Buy stamina and light first |
| Ignoring battery | Only upgrading radius | Split points 50/50 |
| All-healing loadout | Death anxiety | Cap at 1–2 healing items |
| Forgetting to re-equip | Respawn at lobby | Always re-check vendor |
Matching Your Loadout to Party Size and Level Modifiers
The last layer of optimization is how your Bloxrooms gear interacts with the rest of your run, including party size, level modifiers, and the specific entities you are about to face. These tips come from players who have cleared every level currently in the BETA build and shared their setups in community threads.
Tip 1: Match Your Loadout to the Entity Roster
Each level has a fixed entity pool, and a few of them have specific counters. A level with heavy sound-based detection wants a Noise Dampener plus Silent Treads, while a level with chase-down entities wants Heavy Boots and a Med-Spray. Carrying one generalist loadout is fine for early levels, but deep runs require swap-outs.
Tip 2: Solo vs. Squad Changes Your Stat Priority
Solo players benefit more from stealth because there is no one to draw aggro. Squad players can afford to dump stealth in favor of healing and defense, because someone else in the party will pull the entity's attention. This is one of the Bloxrooms gear tips that the official tutorial never covers, but experienced groups swear by it.
Tip 3: Save One Cash Reserve for Emergencies
The most disciplined players always keep at least 2,000 cash in reserve, because the vendor sometimes sells a Bloxrooms gear item that is otherwise locked behind a level clear. Spending everything at the start of a session means missing the drop when it rotates in.
Tip 4: Test Unfamiliar Items on a Throwaway Run
The BETA build changes item stats every couple of weeks, and a previously meta piece can become a trap after a patch. Run a quick low-level exploration with the new item before committing your main loadout to it, and check the patch notes posted on the official Bloxrooms Roblox page after each update.
| Scenario | Recommended Stat Focus | Reasoning |
|---|---|---|
| Sound-based entity level | Noise Reduction | Avoids detection entirely |
| Chase-based entity level | Stamina + Defense | Run and tank on contact |
| Solo run | Stealth | No ally to draw aggro |
| Squad run | Healing | Allies cover detection |
How Bloxrooms Equipment Compares to Other Survival Roblox Titles
Bloxrooms is not the first Roblox survival-horror game to use a gear-and-cash loop, but it does a few things differently that affect how players should think about their Bloxrooms equipment choices. The table below compares it to the generic Backrooms-style template most players are familiar with from other Roblox experiences.
| Mechanic | Bloxrooms | Generic Backrooms Roblox |
|---|---|---|
| Cash source | Artifact scavenging | Usually coins on the ground |
| Upgrade vendor | Lobby NPC | Often on-site or per-level |
| Stat depth | Four core stats | Often one or two |
| Trinket slots | Yes, three slots | Rare |
| Re-equip after death | Required, manual | Often automatic |
| Item rotation | Patch-dependent | Static |
The big takeaway is that Bloxrooms rewards planning over reflex. A player who walks in with a half-baked loadout will lose to a player who spent 20 minutes at the vendor thinking about which stats their next three levels actually need. That is also why the Bloxrooms best gear for entities is not a single item but a loadout philosophy — and why the gear mistakes listed above cost so many new players their first clear.
Putting It All Together: A Sample Endgame Loadout
If you have 15,000 cash saved up and are about to push into the deepest levels currently in the BETA, the community-recommended endgame loadout looks like this. Head slot is the Tactical Light for its long-throw beam, foot slot is Heavy Boots for defense and stability, utility slots are a Noise Dampener and a Bandage Kit, and the healing slot is a Med-Spray for instant top-off. This setup leaves you with roughly balanced stats across all four categories, which is what you need in a level where you do not know which entity will spawn next.
The Bloxrooms best gear for entities changes every patch, but the principles behind it do not. Stack stamina and light first, build into stealth before healing, save cash for trinket rotations, and always re-equip after a respawn. Run those four rules for ten hours and you will see the deeper levels with a fraction of the deaths that you started with.
Frequently Asked Questions
What is the Bloxrooms best gear for entities in early levels?
The early-game meta is the Basic Flashlight plus Trail Boots combo, because stamina and light radius give you the highest survival return on a tight cash budget. Add a Bandage Kit once you cross the 3,000 cash mark and you are set for levels 1–3.
How do I avoid the most common Bloxrooms gear mistakes?
The four traps are buying offense first, ignoring battery life, running an all-healing loadout, and forgetting to re-equip after a respawn. Cap your healing at one or two items, split flashlight points between radius and battery, and always re-check the vendor after a death at the lobby.
What is the right order for Bloxrooms upgrades?
Spend the first 3,000 cash on stamina and light radius, the next 5,000 on stealth and noise reduction, and only invest in defense and trinkets once you have 8,000+ in the bank. This upgrade order is what most players converge on after the first major patch.
Should I run the same Bloxrooms equipment for solo and squad play?
No. Solo runs want stealth because there is no one to draw aggro, while squad runs can dump stealth in favor of healing and defense because allies will pull entity attention. Carrying the wrong kit for your party size is a quiet but consistent source of deaths.
Where can I check the latest Bloxrooms gear rotations?
The vendor inventory shifts every patch, and the most reliable place to confirm current stats and unlock conditions is the official Bloxrooms Roblox page, which is updated by the developer alongside each release. Community videos like the Imadumbo Bloxrooms breakdown are also a good secondary check for how a specific item actually performs in a real run.